
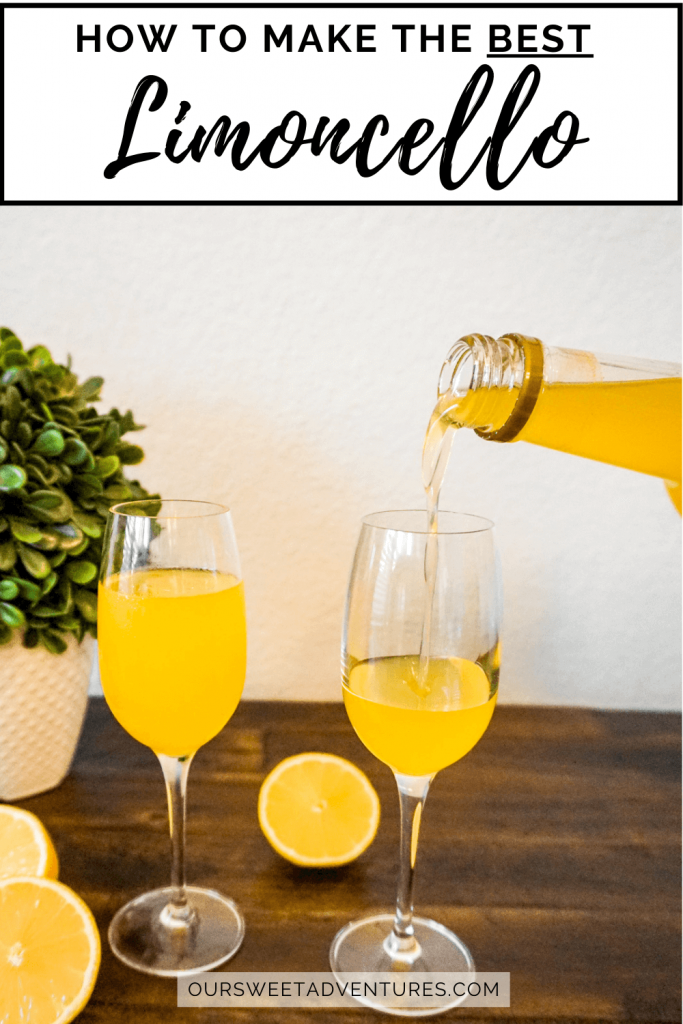
Why buy limoncello when you can make it at home?
One of Italy’s most beloved spirits is the limoncello. This luscious Italian lemon liquor is delicious on its own or mixed in a cocktail.
Limoncello is both tart and sweet – and when made well, it can be a very smooth liqueur. You just have to have the perfect homemade limoncello recipe using the proper ingredients and the right ratio of ingredients.
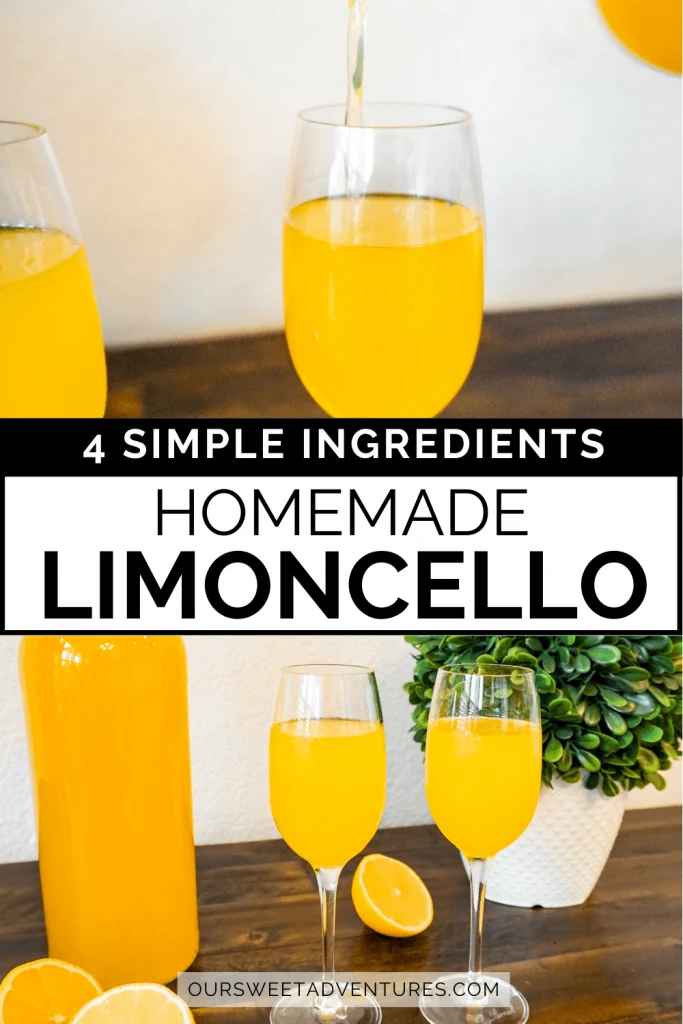
What I love most about limoncello, is how EASY it is to make at home! All it takes is four simple ingredients and patience. The hardest part about making homemade limoncello is the waiting. It takes at least 2 – 4 weeks of fermenting before it is ready to enjoy.
Once you savor your homemade limoncello, share it with your friends. Better yet, you can bottle the homemade limoncello and give it away as the perfect Italian gift.
Enjoying Limoncello Throughout Italy
In our two months traveling and living abroad in Italy, we enjoyed our fair share of limoncello.
From a wonderful afternoon sipping limoncello on the Amalfi Coast with my family to drinking it after an amazing dinner with my dad’s entire Italian family in Gatteo a Mare, having a salute (cheers) with our hosts in Brescia, and more.
Every drop we consumed was delicious, but more importantly, it left us with lifelong memories with so many loved ones. Now when we drink our homemade limoncello, we reminisce all our fun days in Italy, in addition to creating new memories.
What is Limoncello?

Limoncello is a sweet and citrusy Italian lemon liqueur produced with four simple ingredients – lemon peel, 190-proof grain alcohol, sugar, and water.
It is typically enjoyed in a chilled shot glass as an aperitif (before a meal) or a digestif (after a meal). In addition, you can also enjoy it in a refreshing cocktail such as a limoncello spritz or in a dessert recipe.
Of course, the lemons are a huge part of limoncello and are truly the most important ingredient. The large and juicy lemons grow in Southern Italy. Specifically, in the beautiful regions throughout the Gulf of Naples, Sorrento, the Amalfi Coast, and the island of Capri.
With that said, you can find limoncello throughout all of Italy but it is most popular in Southern Italy.
List of Ingredients for Homemade Limoncello
The type of lemons you use for homemade limoncello is KEY! The best lemons are Meyer lemons, but regular lemons work too – they just have to be ORGANIC non-waxed, or untreated!
The non-organic lemons are applied with wax to help prolong the shelf life and can also have potential toxic pesticides. Since we soak the lemon peel in alcohol to make limoncello, we definitely do not want to be consuming wax and pesticides.

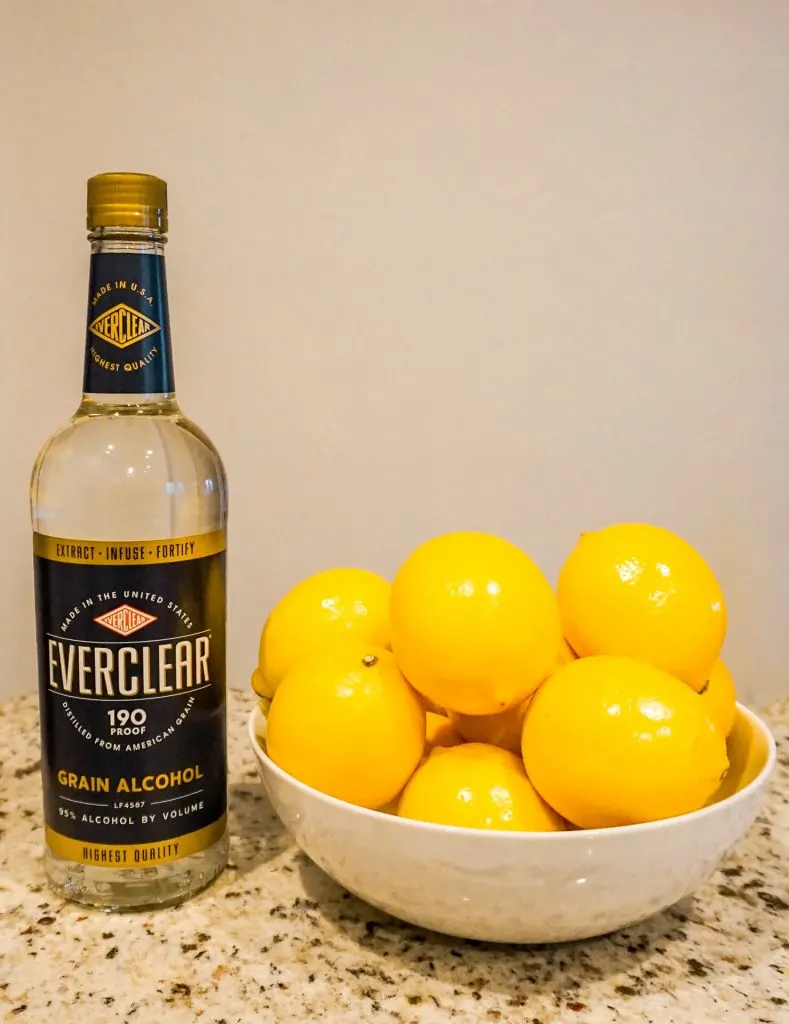
Another important ingredient is alcohol. The best alcohol to make homemade limoncello is 190-proof grain alcohol because it has a great extraction ability. If needed, you can use 151-proof grain alcohol as a substitute, but do not go lower than this.
- 190-proof grain alcohol (Everclear)
- Meyer or organic lemons
- Sugar
- Water
How to Make Homemade Limoncello
After diligent research in reading through four of my authentic Italian cookbooks for homemade limoncello recipes, I have created my own. The common theme I found was the ratio of lemons to Everclear. It was always close to 3 – 4 lemons per one cup of Everclear.
Whereas, the ratio of Everclear to simple syrup was inconsistent. This means that the amount of simple syrup you add is really based on your own preference.

Peel and Infuse the Lemons
Wash the lemons. Take a vegetable peeler and carefully remove long strips of the lemon peel without taking a lot of the pith (white part).
Peeling the lemons is the most important part of making homemade limoncello. You DO NOT want to infuse the alcohol with lemon peels that still have some pith. It will make your limoncello bitter. So if the lemon peel has white on it, carefully remove it with a knife.
Pour the alcohol into a large container with a sealed lid. Add the lemon peel and stir. (Keep the alcohol bottle and see tips & tidbits below).
Place the sealed container in a dark and cool space. Let the mixture infuse for at least two weeks. You can infuse the mixture for as little as 5 – 7 days, but I find 2 weeks to be the perfect amount of time. Moreover, the longer you infuse the liquor, the stronger the lemon flavor.
There are two signs to look for to know when the mixture is ready. One, when the lemon peel is white and easily snaps into two pieces when bent. Two, the liquor has turned yellow.
Make Simple Syrup
When the infusion is ready, it is time to prepare the simple syrup.
In a medium saucepan, mix together the sugar and water. Then bring the mixture to a boil. Once all of the sugar has dissolved, turn off the heat and cool down the simple syrup.
While the simple syrup is cooling down, remove the lemon peel from the infusion. Then take a cheesecloth and fold it to create two layers. Pour the infusion through the cheesecloth with a funnel and into a bottle or another container. The cheesecloth helps remove any remaining sediment in the mixture.
Pour the simple syrup into the infusion and mix well. At this point, you can taste the homemade limoncello and add more simple syrup if needed. Keep in mind, the limoncello will mellow out over time.
Infuse Again!
Seal the container and place it back in a dark and cool place. Again, this part of the process is based on your preference. You can let the limoncello rest for one day or up to two weeks. Personally, I like waiting for two weeks because it allows plenty of time for all the flavors to mellow out.
You can look at this process as a winemaker and taste your product every day to see what you prefer.
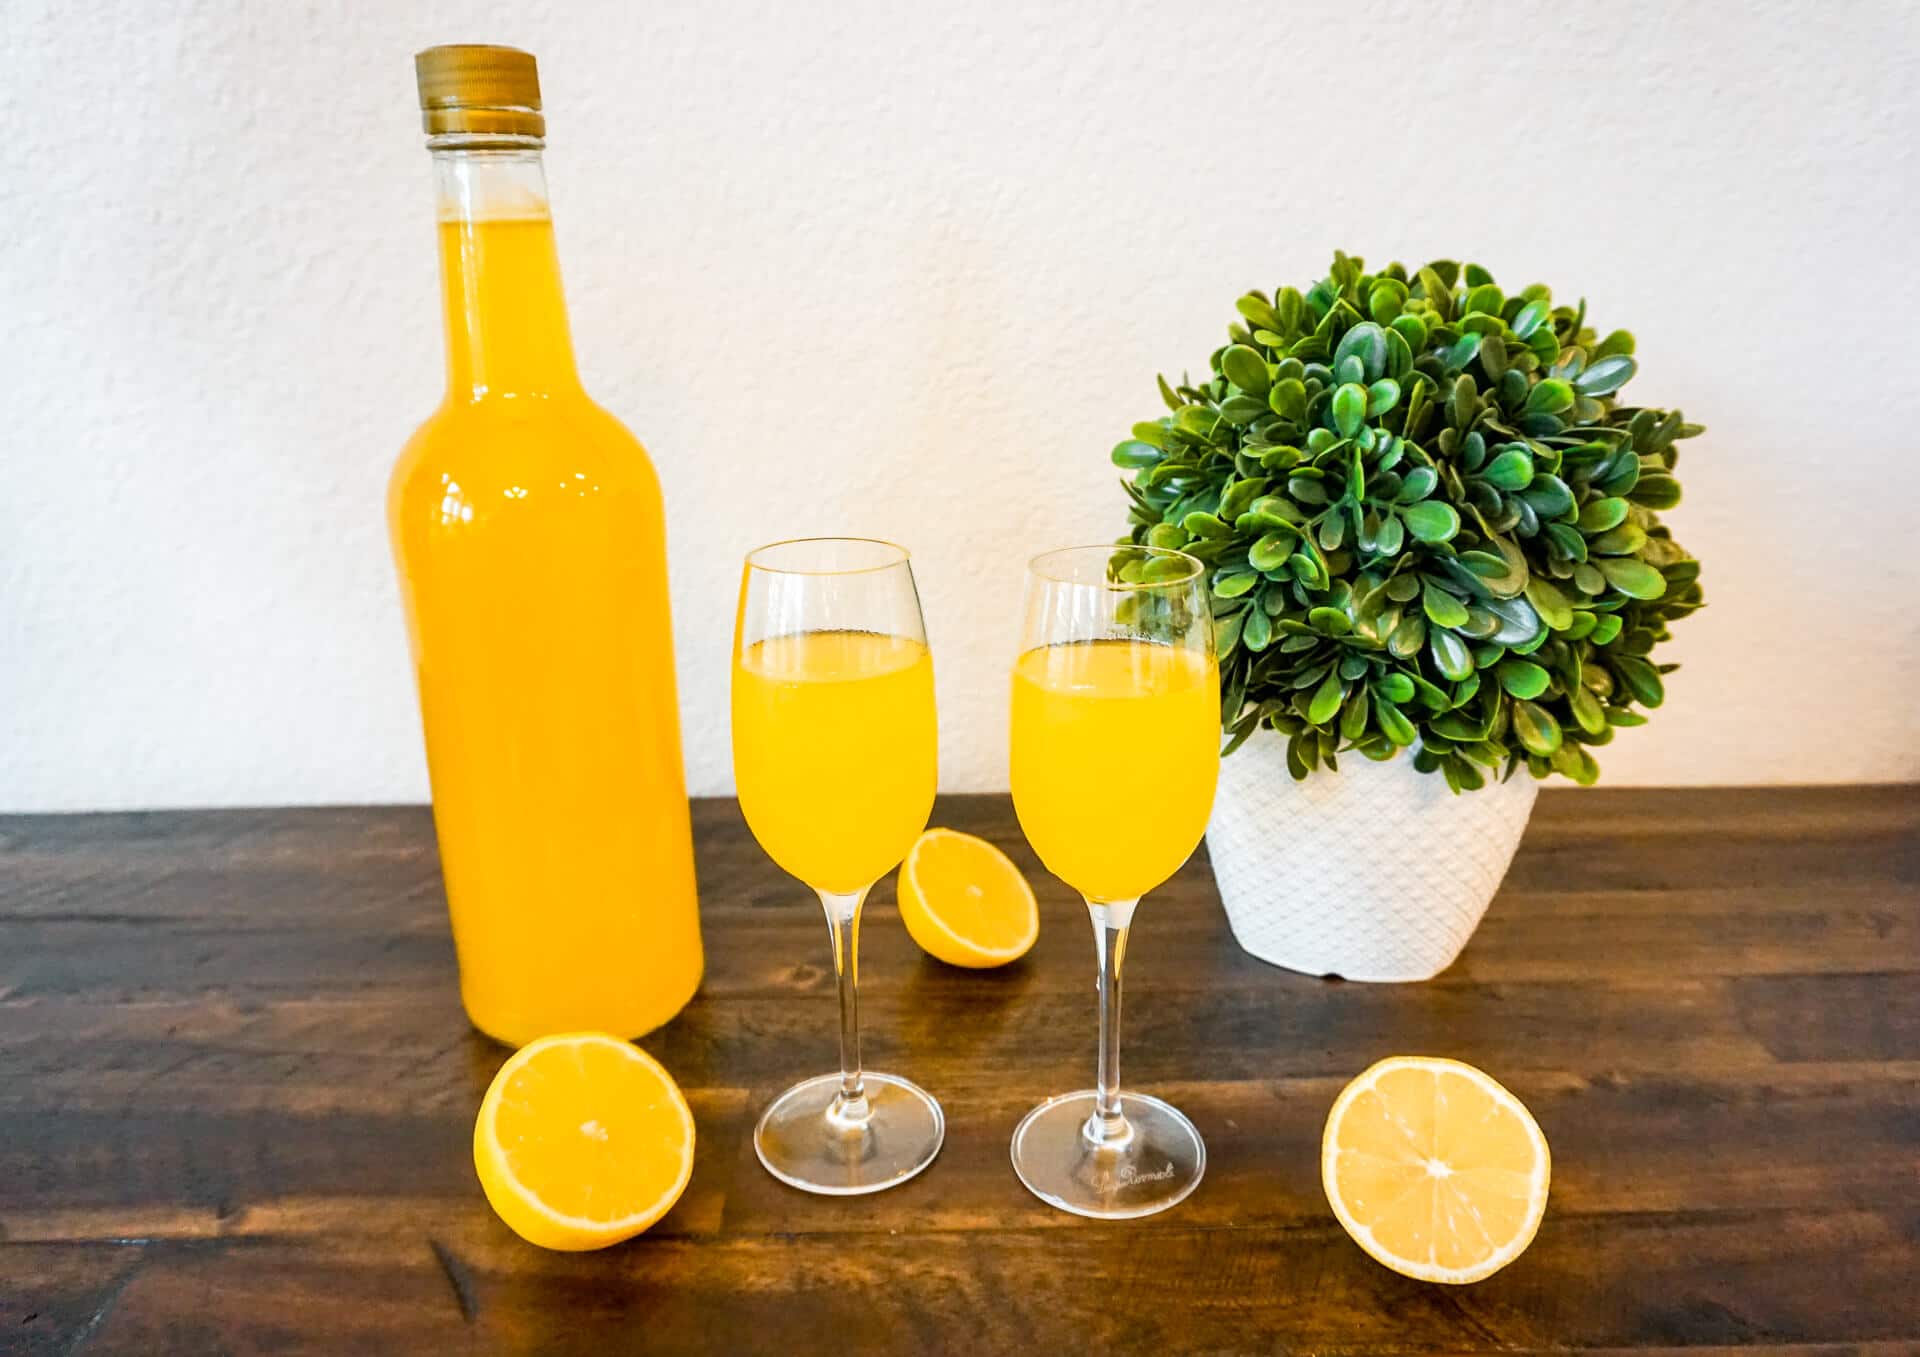
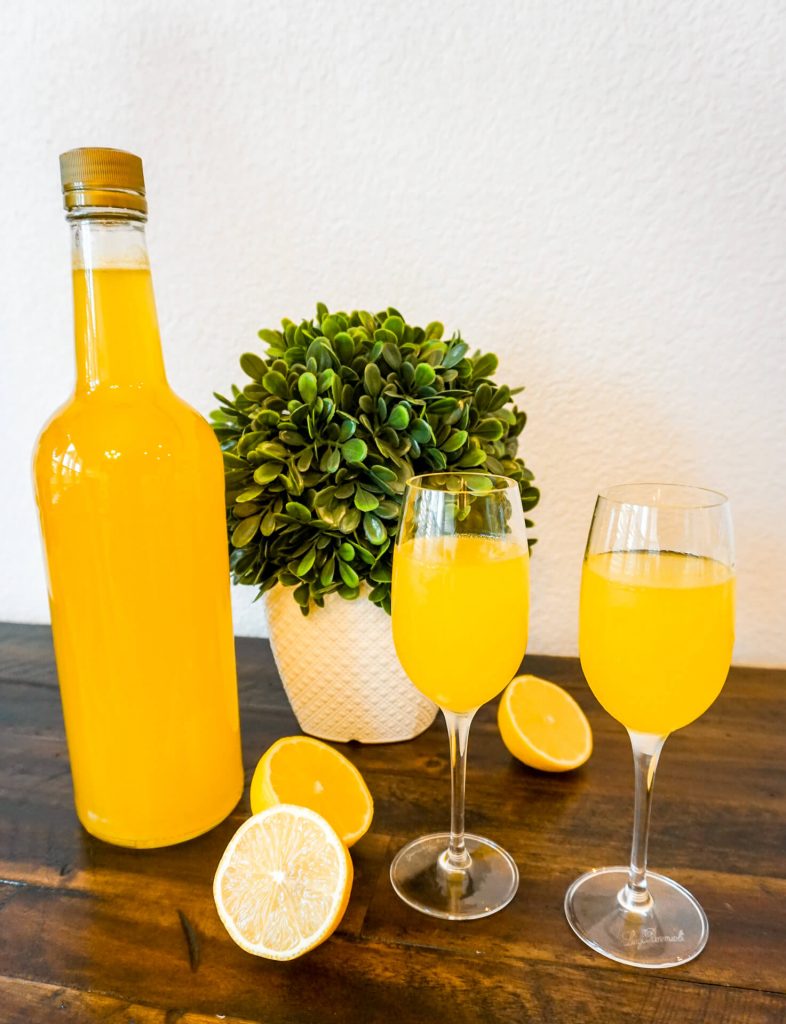
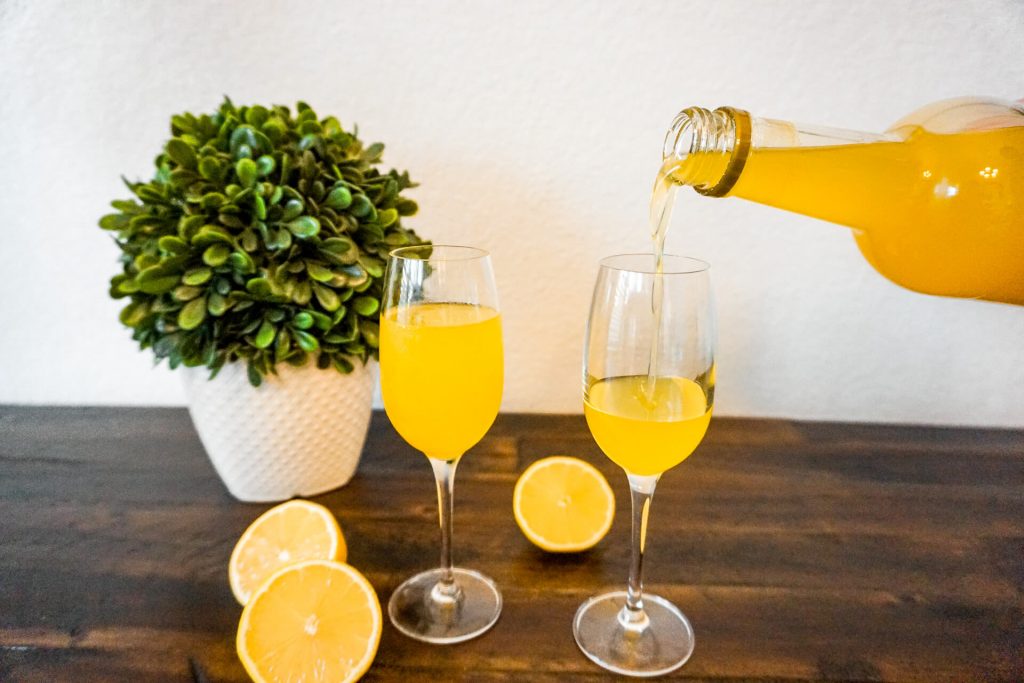
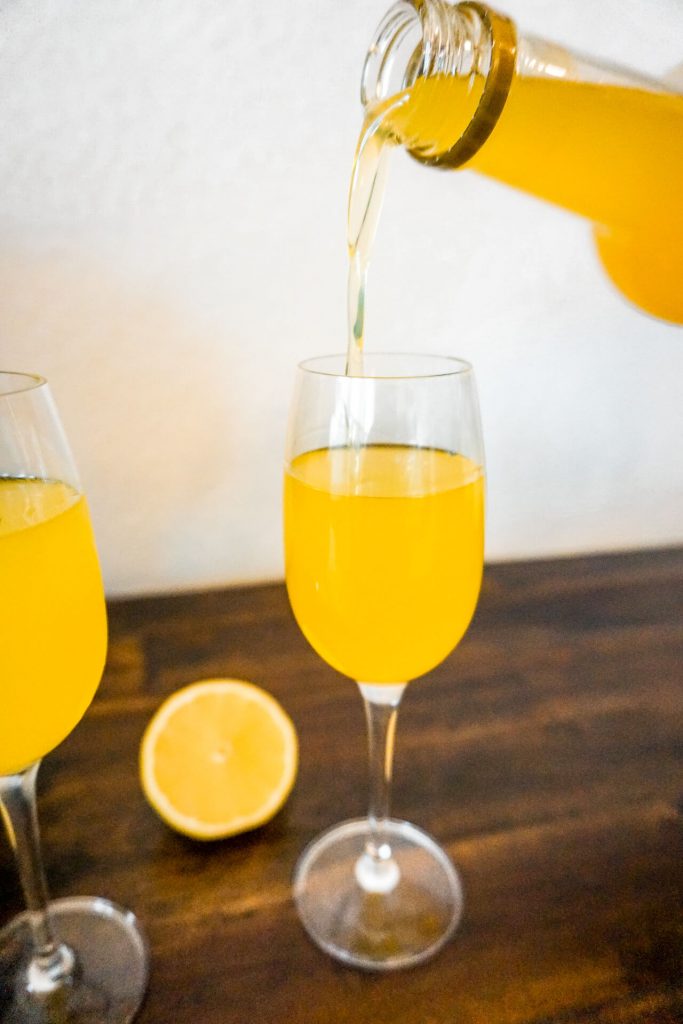
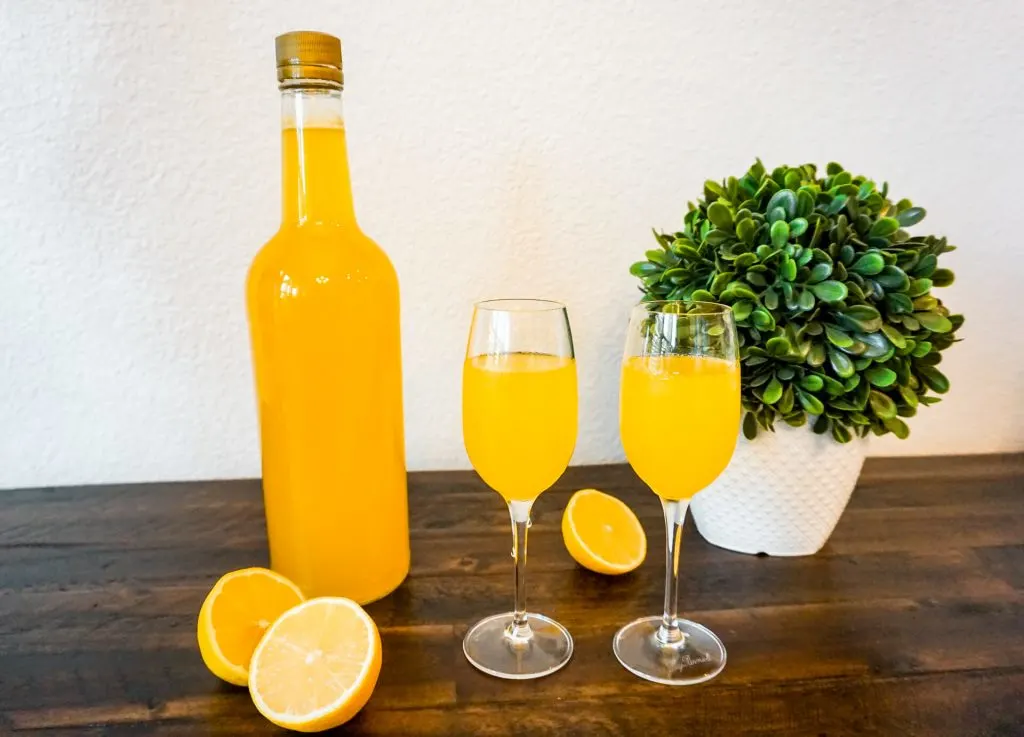
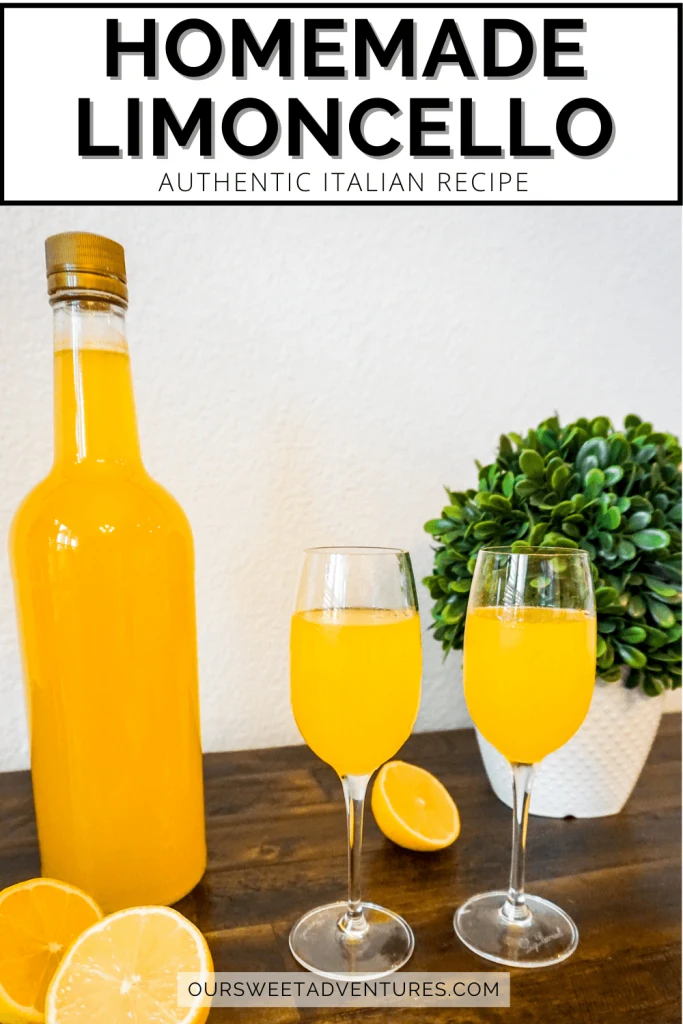
Once you are happy with your result, pour the homemade limoncello into a bottle with a screw top (again, please see my tips below). This recipe makes up to two 750ml bottles.
Store the bottled limoncello in the freezer and serve chilled.

Tips & Tidbits
Here are a few tips and tidbits when it comes to making homemade limoncello.
Save the Lemon Juice!
After you remove the lemon peel, juice the lemons to make delicious recipes, such as a classic lemon tart.
Bonus! Use the juiced lemons and place them down your garbage disposal (one at a time) to make your drain smell citrus fresh!
Why is My Limoncello Cloudy?
If your homemade limoncello is cloudy after you add the simple syrup, do not worry! That is completely normal. In fact, limoncello is almost always cloudy!
I know commercial limoncello is this beautiful light yellow and almost crystal clear liquid that we are all trying to aim for. However, homemade limoncello can look like a (dark yellow) orange juice.
During my first attempt, I thought I did something wrong too. After several more attempts, I learned that the cloudiness comes from this spontaneous emulsification called the ouzo effect. If you are curious to learn more about the science of the ouzo effect, click here.
How to Store Homemade Limoncello

Homemade limoncello needs to be stored in a sealed tight bottle that can tolerate the freezer. I remember making limoncello in college and the glass bottle I chose shattered in the freezer.
The best way to store homemade limoncello is in a glass bottle with a screw top. I like reusing the Everclear bottle and clear wine bottles with screw tops.
You can store the homemade limoncello in the freezer or at room temperature. However, limoncello is traditionally served chilled, so a freezer is highly recommended if you plan to consume it soon or frequently.
My homemade limoncello recipe makes two 750 ml bottles. So at home, I store one bottle at room temperature and the second in the freezer.
How to Remove Labels from Bottles
The best way to remove a label from a glass bottle is by filling the inside with piping hot water and submerging it in a pot of hot water. Let the bottle sit for at least 5 – 10 minutes.
Some adhesion labels will come off on their own. Others will easily peel off. The really tough ones might need a little elbow grease. For these, I recommend taking a wooden spoon and scraping the label off.
More Drink Recipes


Homemade Limoncello
A luscious sweet and citrusy Italian lemon liqueur that is easy to make at home with four simple ingredients.
Ingredients
- 12 lemons (organic or Meyer lemons)
- 750 ml bottle of Everclear (190-proof grain alcohol)
- 3 cups water
- 3 cups sugar
Instructions
- Wash the lemons.
- Take a vegetable peeler and carefully remove long strips of the lemon peel without taking a lot of the pith (white part). Peeling the lemons is the most important part of making homemade limoncello. You DO NOT want to infuse the alcohol with lemon peels that still have some pith because it will make your limoncello bitter. So if the lemon peel has white on it, carefully remove it with a knife.
- Pour the alcohol into a large container with a sealed lid. Add the lemon peel and stir.
- Place the sealed container in a dark and cool space. Let the mixture infuse for at least two weeks. There are two signs to look for to know when the mixture is ready. One, when the lemon peel is white and easily snaps into two pieces when bent. Two, the liquor has turned yellow.
- Once the mixture is ready, make a simple syrup. Mix the sugar and water in a medium saucepan. Then bring the mixture to a boil. Once all of the sugar has dissolved, turn off the heat and cool down the simple syrup.
- While the simple syrup is cooling down, remove the lemon peel from the infusion. Then take a cheesecloth and fold it to create two layers. Pour the infusion through the cheesecloth with a funnel and into a bottle or another container.
- Pour the simple syrup into the infusion and mix.
- Seal the container and place it back in a dark and cool place for another two weeks.
- Pour the homemade limoncello into a bottle with a screw top (I like to reuse the Everclear bottle - remember this recipe makes two 750ml bottles).
- Store the bottled limoncello in the freezer and serve chilled.
Notes
You can cater your homemade limoncello to your taste in several different ways.
1) You can infuse the lemon peel and alcohol for as little as 5 - 7 days and up to the recommended 2 weeks. The longer you infuse the lemon peel, the stronger the lemon flavor. by adding more simple syrup during step 7. Keep in mind, the limoncello will mellow out over time.
2) During step 7, you can taste the homemade limoncello and add more simple syrup if needed. Keep in mind, the limoncello will mellow out over time.
3) During step 8, you can let the limoncello rest for one day or up to the recommended two weeks. Again, more time will mellow out all the flavors in the limoncello.
Recommended Products
As an Amazon Associate and member of other affiliate programs, when you click on the link you will have the option to purchase a product at no extra cost to you, but I would receive a small commission. I want to thank everyone for following and supporting us on all of “Our Sweet Adventures” and for cooking with my recipes on "Christina's Culinary Creations".


50 Italian Drinks That You Must Try in Italy - That Texas Couple
Tuesday 11th of May 2021
[…] this great limoncello recipe to create limoncello at home. It is surprisingly […]