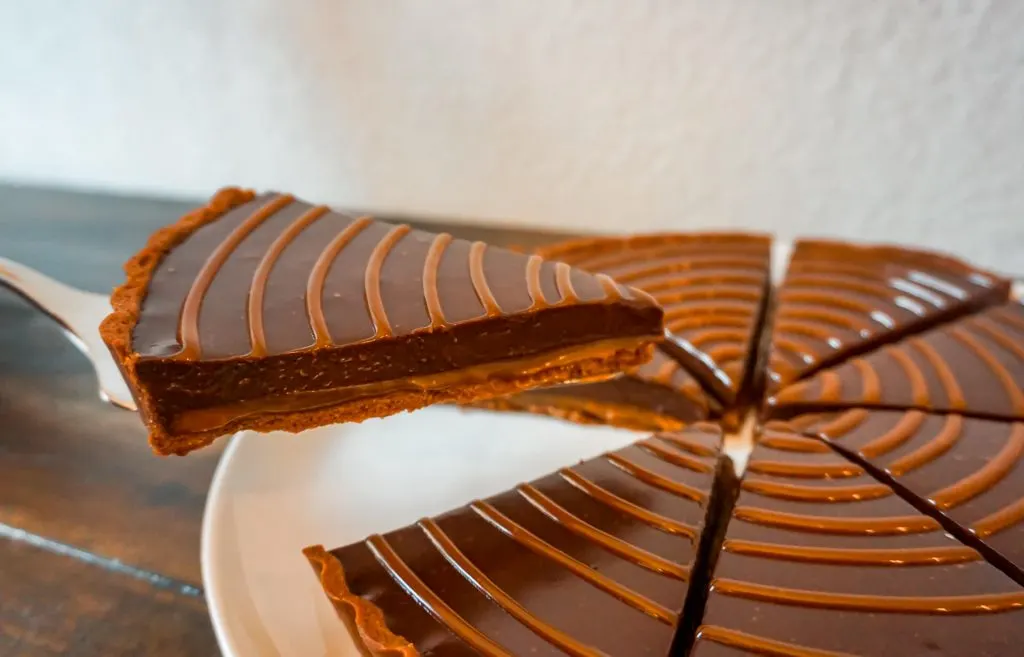
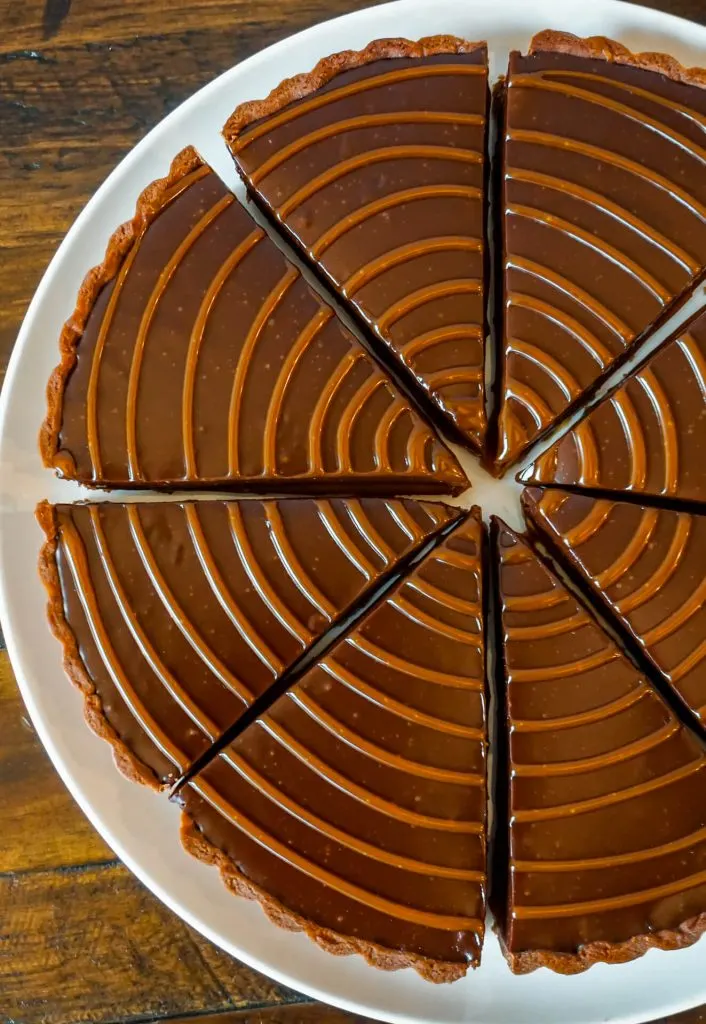
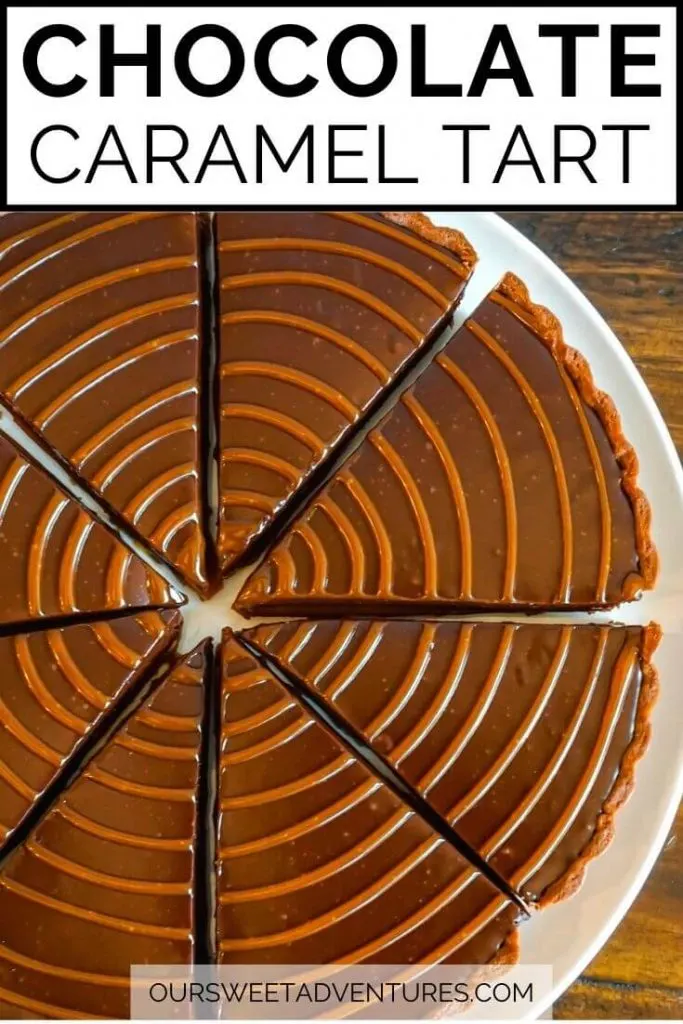
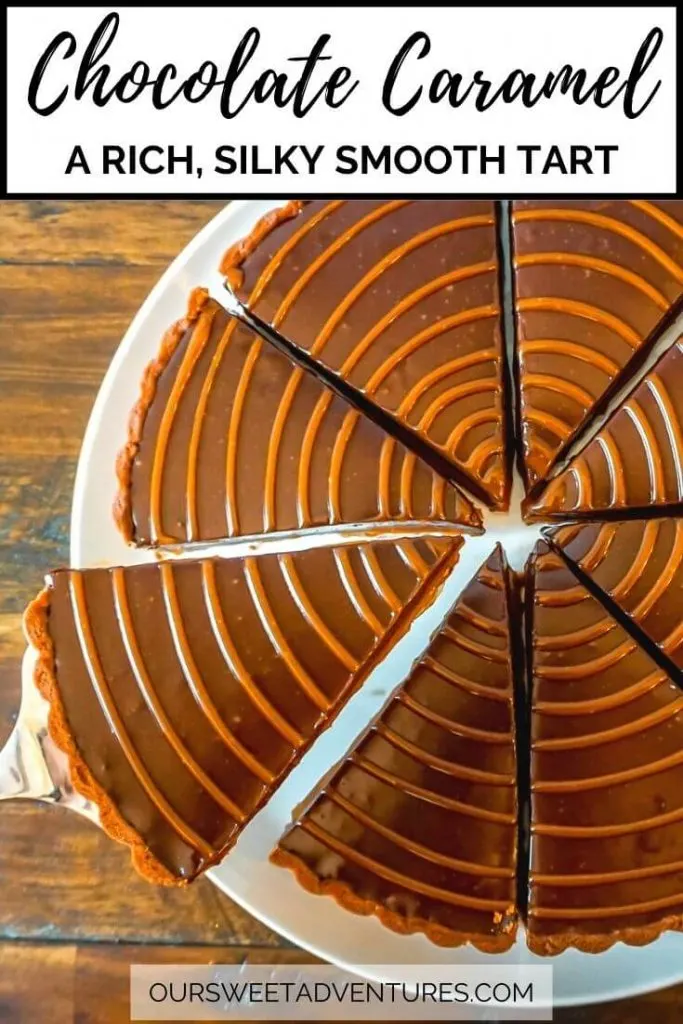
Bring a little piece of Paris into your kitchen with this decadent chocolate caramel tart. I promise it will be an instant house-favorite! The sweet chocolate tart has a luscious and oozy layer of caramel topped with a rich, dark chocolate ganache. Is your mouth watering yet?
This chocolate caramel tart recipe includes everything you need to make the perfect dessert. My recipe includes how to make the sweet chocolate tart dough, the caramel filling, and the rich chocolate ganache. It does take a little skill in the kitchen, but you can also purchase a store-bought tart shell and caramel if desired.
Paris Inspiration for My Chocolate Caramel Tart
Chocolate + caramel is one of the most perfect match-made in heaven combinations in the kitchen. Personally, it is my favorite – I can never pass on any dessert that combines these two harmonious ingredients.
This made our trip to Paris “difficult” because every patisserie we visited showcased this beautiful flavor profile in a dessert. From the classic chocolate caramel tart to chocolate caramel eclairs, crepes, profiteroles, macarons, and more.
I am not exaggerating when I say – Adam and I bought fresh pastries and desserts every morning and night during our 4 days in Paris. Of course, one of the many types of desserts we enjoyed were tarts. From the classic tart au citron (lemon tart) to fresh blueberry, chocolate hazelnut, and yes, chocolate caramel.
So if you are dreaming of enjoying decadent pastries in Paris and cannot travel there just yet… you can certainly bring Paris into your kitchen with my chocolate caramel tart recipe.
List of Ingredients for Chocolate Caramel Tart
As briefly mentioned, you can certainly purchase a store-bought chocolate tart shell and caramel filling. I know that making tart shells is not an easy task in the kitchen, but with patience and practice, anyone can do it!
Furthermore, chocolate is a key ingredient in this tart. So when you purchase higher-quality chocolate, you will achieve a greater flavor and end product.
For the Sweet Chocolate Tart Dough (Crust)
- Powdered sugar
- Unsalted butter
- Eggs
- All-purpose flour
- Unsweetened cocoa powder
- Salt
For the Caramel Filling
- Sugar
- Heavy cream
- Vanilla extract
- Salt
For the Chocolate Ganache
- Bittersweet chocolate
- Heavy Cream
- Unsalted butter
How to Make a Chocolate Caramel Tart
I will break the recipe into three parts: the sweet chocolate crust (the tart dough), the caramel filling, and the dark chocolate ganache. Both the chocolate tart dough and the caramel can be made a day ahead.
For the Chocolate Crust
In a mixing bowl, add the powdered sugar and beat on medium speed to break up any lumps. Decrease the speed and slowly add 2 pieces of cold butter cubes at a time. Continue to add butter until the mixture is smooth. About 5 minutes. Then add one egg at a time and mix well.
In a separate bowl, whisk together the dry ingredients. Slowly add the dry ingredients into the mixing bowl until the dough comes together and is smooth. Do not overmix the dough!
Wrap the dough in plastic or put it in a container and let it chill in the refrigerator for one hour. (The dough can be stored for up to 3 days).
Lightly grease a 9-inch tart pan (preferably with a removable bottom). Remove the dough from the refrigerator and let it sit for 1-2 minutes to soften slightly. If the dough is too soft, it will be difficult to work with. You want the dough cold.
On a floured surface (I recommend a Silpat, see notes in my tips below), roll the chocolate tart dough into an 11-inch circle and 1/8 – 1/4 inch thickness. Quickly take the dough and place it inside a 9-inch tart pan. To do this efficiently, flour the dough and rolling pin. Roll the dough loosely around it, then unroll it into the tart pan. If the dough is too warm and soft, place it in the refrigerator for 5 minutes to get cold again. (See notes for great tips below).
Using your fingers, gently form the dough into the pan. With a sharp knife, trim the edges of dough that are above the tart pan. Place the tart shell in the refrigerator for about 30 minutes or until it is chilled. While the dough is chilling, preheat the oven to 375°F.
Remove the chilled tart shell. Dock the bottom of the tart with a fork. Line the tart with parchment paper larger than the pan. Additionally, cover the edges of the pan with aluminum foil to prevent from burning. Fill the tart pan with weights such as baking beans, dried beans, or uncooked rice. Make sure they are fully distributed over the entire surface for even baking.
Bake the chocolate tart at 375°F for 12 minutes. Remove the parchment paper with the weight (leave the foil on the edges) and bake for an additional 10 minutes or until the tart shell is fully baked. Once the shell is baked, remove from the oven and let it cool completely.
For the Caramel
While the chocolate tart is baking, you can begin making the caramel. In a small saucepan, warm the heavy cream, salt, and vanilla extract together. Keep warm on low heat.
In a separate stainless steel medium saucepan, make a dry caramel by heating up the pan over medium heat. When the saucepan is hot, slowly sprinkle the sugar over the pan. When the sugar crystals start to melt, slowly add more until all of the sugar is dissolved. When the caramel begins to turn into a golden amber color, reduce the heat to low.
Carefully whisk in a little of the heavy cream mixture into the dry caramel. The sugar will bubble when you add the cream, so be careful. Continue to whisk the caramel as you add the rest of the heavy cream. At this time, you can turn the heat up to medium to help dissolve the sugar and thicken the caramel quicker.
Once the sugar has dissolved completely, whisk in the butter a little at a time until the caramel is silky smooth. Remove the caramel from the heat and let it cool. Reserve 3/4 cup for the tart and the remaining for decoration.
When the chocolate tart and caramel are both cool, pour 3/4 cup (or more if desired) of the caramel into the tart shell. Let this set completely, about 1 hour.
For the Chocolate Ganache
Place the chocolate in a large bowl.
In a small saucepan, bring the heavy cream to a boil. Pour the heavy cream into the chocolate and whisk together until the mixture is smooth. Then whisk in the softened butter. Set the ganache aside and let it cool to room temperature.
Once the ganache is cooled, pour it over the caramel inside the chocolate tart. Lightly tap the tart shell on the counter to remove any air bubbles. Let the chocolate caramel set at room temperature for at least 2 hours.
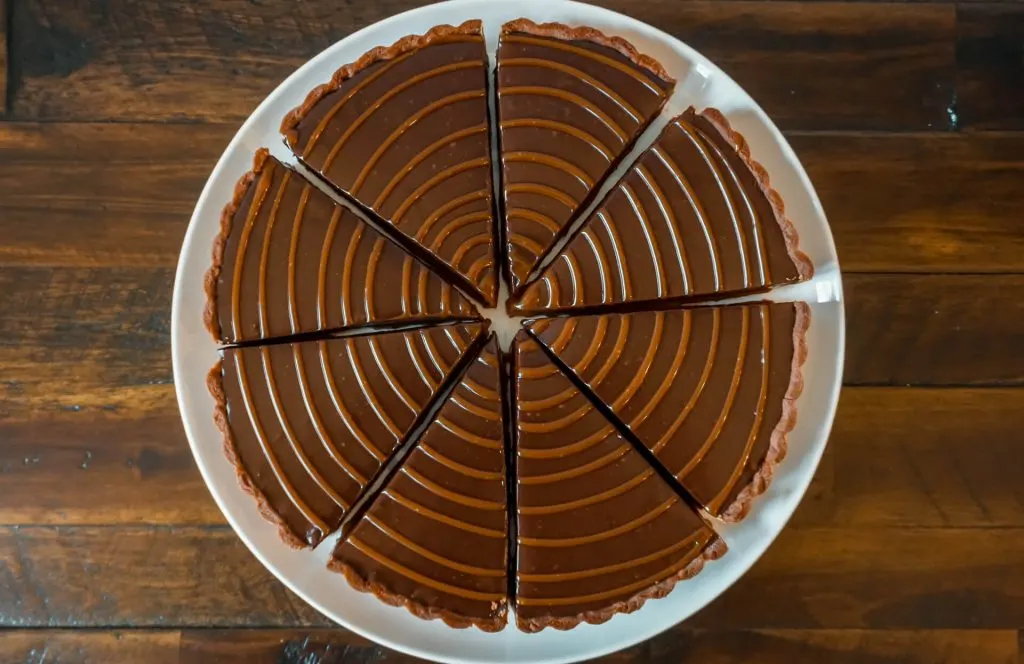
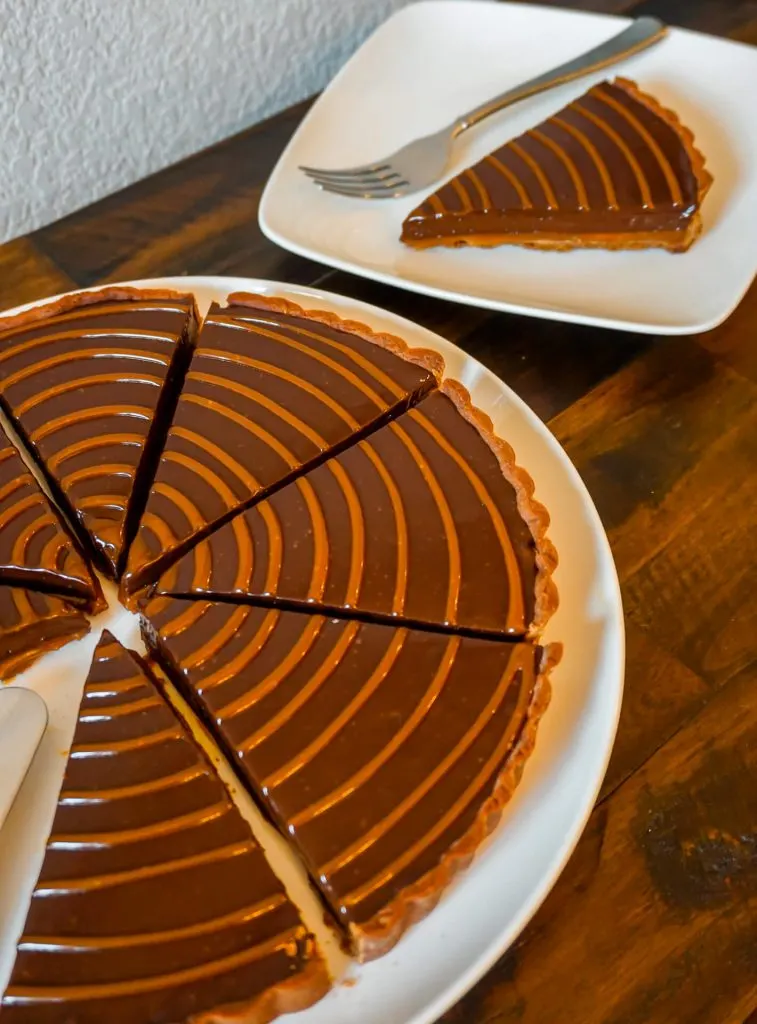
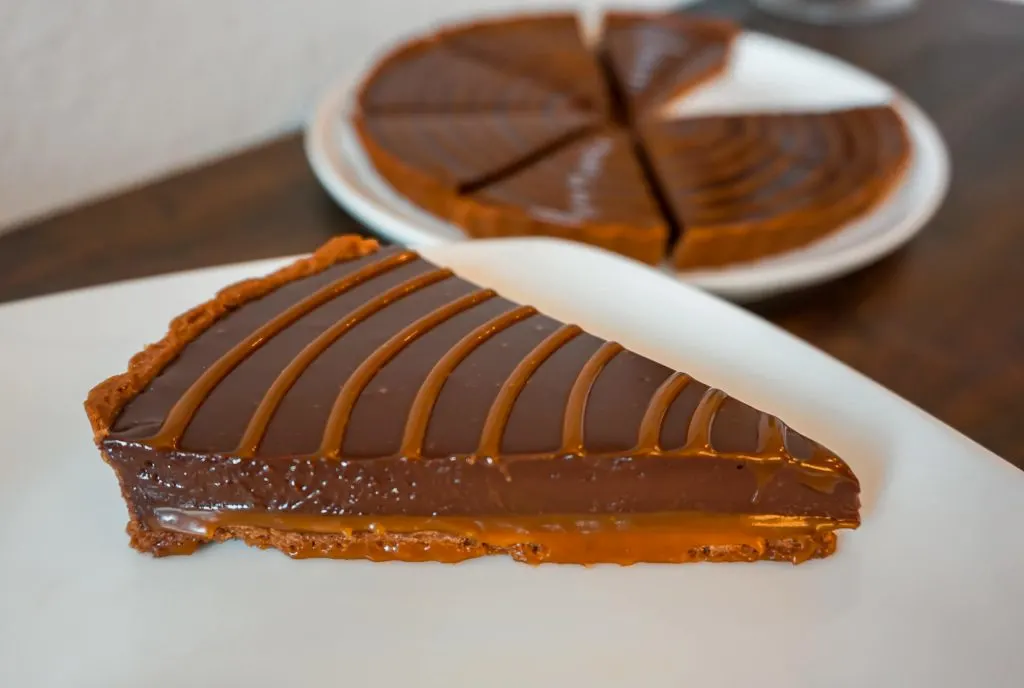
Pour the remaining caramel in a piping bag, and drizzle over the top of the chocolate caramel tart. Cut the tart into 10 slices, serve (with more caramel if desired), and enjoy!
Tips & Tidbits
Here are a few tips and tidbits for the chocolate caramel tart.
Rolling Out the Tart Dough
Personally, I find working with tart dough to be the easiest on a Silpat. Why? Because when the dough gets too soft, you can easily just pick up the Silpat and place it in the refrigerator. Once the dough is chilled again, just pull the Silpat out and try again.
Working with Tart Dough
When working with tart dough, do not over mix it. If you over mix or over work the dough, the crust will get too hard after you bake it.
With this said, it is recommended to only roll out the tart dough two – three times. After that, you risk over working the tart dough.
If the tart dough cracks along the edges, do not worry! You can patch the cracks or holes up with remaining pieces of dough. I typically use the pieces from cutting along the edges.
The tart dough can be stored in an air-tight container in the refrigerator for up to 3 days.
If at first you fail, do not give up! It takes practice and you can do it!
Make a Salted Chocolate Caramel Tart
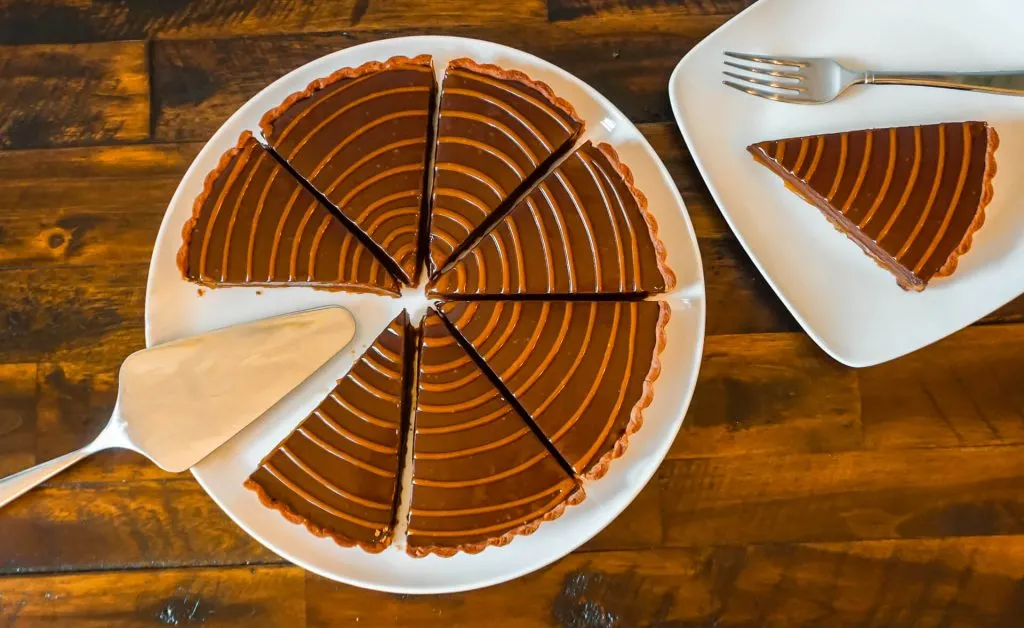
To elevate this dessert, you can sprinkle flaky sea salt on top of the chocolate ganache. The salt will bring more balance to the flavors and cut the richness of the chocolate.
Chocolate Caramel Tart
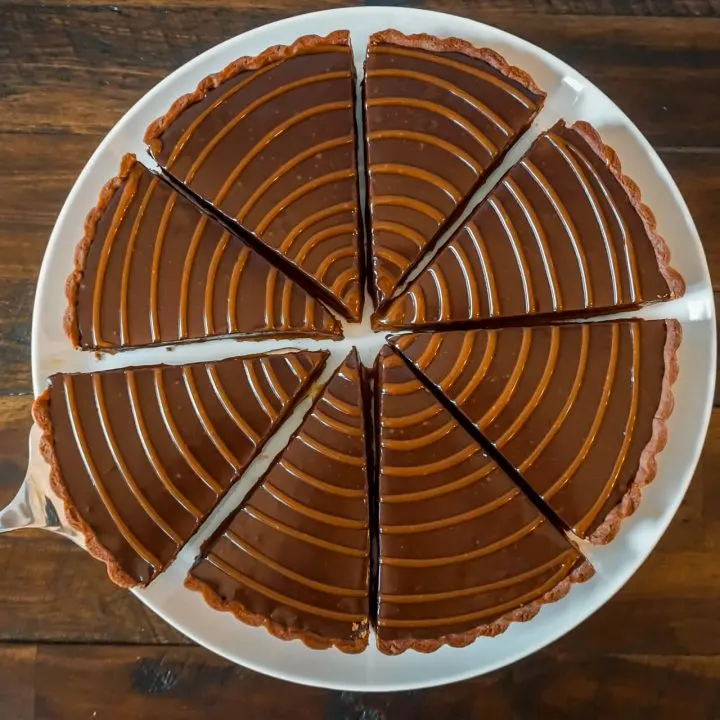
A sweet chocolate tart with a luscious layer of caramel topped with rich dark chocolate ganache.
Ingredients
For the Chocolate Crust
- 6 tablespoons unsalted butter (cold, cut into small cubes)
- 1/2 cup powdered sugar
- 1 egg
- 1 1/4 cups all-purpose flour
- 2 tablespoons unsweetened cocoa powder
- 1/4 teaspoon salt
For the Caramel
- 3/4 cups heavy cream
- 1/2 teaspoon salt
- 1 teaspoon vanilla extract
- 3/4 cups sugar
- 3 tablespoons unsalted butter (cold, cut into cubes)
For the Chocolate Ganache
- 1 cup heavy cream
- 9 ounces bittersweet chocolate
- 3 tablespoons unsalted butter (softened)
Instructions
For the Chocolate Crust
- In a mixing bowl, add the powdered sugar and beat on medium speed to break up any lumps. Decrease the speed and slowly add 2 pieces of cold butter cubes at a time. Continue to add butter until the mixture is smooth with no lumps. About 5 minutes.
- Add one egg at a time and mix well. The mixture will look broken, that is okay.
- In a separate bowl, whisk together the dry ingredients. Slowly add the dry ingredients into the mixing bowl until the dough comes together and is smooth. Do not overmix the dough!
- Wrap the dough in plastic or put it in a container and let it chill in the refrigerator for one hour.
- Lightly grease a 9-inch tart pan (preferably with a removable bottom). Remove the dough from the refrigerator and let it sit for 1-2 minutes to soften slightly. On a lightly floured surface (I recommend a Silpat), roll the chocolate tart dough into an 11-inch circle and 1/8 - 1/4 inch thickness. Quickly take the dough and place it inside a 9-inch tart pan. To do this efficiently, flour the dough and rolling pin. Roll the dough loosely around it, then unroll it into the tart pan. If the dough is too warm to work with, place the dough in the refrigerator to get cold and workable. This is why I recommend a Silpat, you can easily transfer the dough with Silpat into the fridge.
- Using your fingers, gently form the dough into the pan. With a sharp knife, trim the edges of dough that are above the tart pan. Place the tart shell in the refrigerator for about 30 minutes or until it is chilled. While the tart is chilling, preheat the oven to 375°F.
- Remove the chilled tart shell. Dock the bottom of the tart with a fork. Line the tart with parchment paper larger than the pan. Additionally, cover the edges of the pan with aluminum foil to prevent from burning. Fill the tart pan with baking beans, dried beans, or uncooked rice. Make sure they are fully distributed over the entire surface for even baking.
- Bake the chocolate tart at 375°F for 12 minutes. Remove the parchment paper with the weight (leave the foil on the edges) and bake for an additional 10 minutes or until the tart shell is fully baked. Once the shell is baked, remove from the oven and let it cool completely.
For the Caramel
- While the chocolate tart is baking, you can begin making the caramel. In a small saucepan, warm the heavy cream, salt, and vanilla extract together. Keep warm on low heat.
- In a separate stainless steel medium saucepan, make a dry caramel by heating up the pan over medium heat. When the saucepan is hot, slowly sprinkle the sugar over the pan. When the sugar crystals melt, add more slowly until all of the sugar is dissolved and turned into caramel. When the caramel begins to turn into a golden amber color, reduce the heat to low.
- Carefully whisk in a little of the heavy cream mixture into the dry caramel. The sugar will bubble when you add the cream, so be careful. Continue to whisk the caramel as you add the rest of the heavy cream. At this time, you can turn the heat up to medium to help dissolve the sugar and thicken the caramel quicker.
- Once the sugar has dissolved completely, whisk in the butter a little at a time until the caramel is silky smooth. Remove the caramel from the heat and let it cool. Reserve 3/4 cup for the tart and the remaining for decoration.
- When the chocolate tart and caramel are both cool, pour 3/4 cup (or more if desired) of the caramel into the tart shell. Let this set completely, about 1 hour.
For the Chocolate Ganache
- Place the chocolate in a large bowl.
- In a saucepan, bring the heavy cream to a boil. Pour the heavy cream into the chocolate and whisk together until the mixture is smooth.
- Whisk in the butter. Set the ganache aside and let it cool to room temperature.
- Once the ganache is cooled, pour it over the caramel in the chocolate tart. Lightly tap the tart shell on the counter to remove any air bubbles. Let the chocolate caramel set at room temperature for 2 hours.
- Pour the remaining caramel in a piping bag, and drizzle over the top of the chocolate caramel tart. Cut the tart into 8 or 10 slices, serve, and enjoy!
Notes
If you want to elevate this chocolate caramel tart more, sprinkle sea salt flakes on top of the chocolate ganache - now you have a Salted Chocolate Caramel Tart!
If the tart dough cracks along the edges, do not worry! You can patch the cracks or holes up with remaining pieces of dough. I typically use the pieces from cutting along the edges.
Recommended Products
As an Amazon Associate and member of other affiliate programs, when you click on the link you will have the option to purchase a product at no extra cost to you, but I would receive a small commission. I want to thank everyone for following and supporting us on all of “Our Sweet Adventures” and for cooking with my recipes on "Christina's Culinary Creations".




Bob
Friday 4th of September 2020
This looks almost to good to eat. Just kidding I'd eat it in a flat second!!!