This classic French Lemon Tart (Tarte au Citron) is a wonderful dessert inspired by my travels France. What I love about this French Lemon Tart (Tarte au Citron) is its freshness and simplicity. A lot of lemon desserts can be very overwhelming in citrus, but the sweet crust cuts the tartness beautifully.
My recipe is simple and easy. Moreover, it is has been perfected after working with French pastry chefs for several years. So yes, this French Lemon Tart (Tarte au Citron) is the real deal!
One of the best things about a French Lemon Tart (Tarte au Citron) is the different ways you can garnish and serve it. You keep the tart simple or accompany it with fresh berries, chocolate, or even meringue.
Overall, the French Lemon Tart (Tarte au Citron) is a lovely dessert to savor year-round. So please enjoy my step by step guide starting from making homemade sweet tart dough to the lemon curd filling.
Enjoying the Classic French Lemon Tart (Tarte au Citron) in France

Typically, I always write about my travel experiences with my husband and kids. For this post, I am going to focus on my very first international trip with my Papi (grandfather).
For my high school graduation, my grandfather took me on an epic road trip through Spain and France. During our road trip, we would stop at almost every bakery and patisserie I could get my hands on. (As you can gather from my blog, nothing has changed).
I remember this memory like it was yesterday. My Papi and I were driving in Southern France and spent the perfect day in Lyon eating an individual-size French Lemon Tart (Tarte au Citron).
My tart was pure perfection. It was lovely in flavor and texture, but I remember distinctly that it had “Citron” written beautifully in chocolate cursive. At this moment, I fell in love with this classic French dessert.
Fast forward seven years when I am exploring Paris with Adam. I see precious individual-size French Lemon Tarts (Tarte au Citron) inside a pastry display at a patisserie on Champs-Élysées. I see the same beautiful chocolate cursive “Citron” written on the tarts and immediately feel a sense of joy as I reflect on my trip with Papi.
This is the beauty of food and traveling. To cherish every moment and reminiscence on the most precious memories. This is why my memory is the inspiration behind my French Lemon Tart (Tarte au Citron) recipe.
List of Ingredients for French Lemon Tart (Tarte au Citron)
Of course, the lemon juice is the star ingredient in a French Lemon Tart (Tarte au Citron). Personally, I always like to use the freshest ingredients possible. So I do recommend using fresh juice from lemons.
However, I used bottled lemon juice when I made my French Lemon Tart (Tarte au Citron) for the photos in this post. Turns out, my family preferred the bottled lemon juice tart over the fresh lemon juice tart because it was less pungent. So to each their own.
You can use either fresh or bottled lemon juice and decide which one you prefer.
For the Sweet Tart Dough
- Unsalted butter
- Sugar
- Egg
- Vanilla extract
- All-purpose flour
- Salt
For the Lemon Curd
- Sugar
- Lemon juice
- Whole eggs
- Egg yolks
- Unsalted butter


How to Make a Classic French Lemon Tart (Tarte au Citron)
I love how simple it is to make a French Lemon Tart (Tarte au Citron). Besides the tart shell, there is no baking. So if you use a store-bought tart shell, there is absolutely no baking needed!
With that said, this recipe is super easy. You just make the lemon curd, pour it into the tart shell, let it set, and enjoy!
For the Sweet Tart Dough
The tart shell can be prepared ahead of time. The tart dough itself can be stored in an air-tight container in the refrigerator for up to 3 days. If you decide to bake the tart shell ahead of time, it can be wrapped and stored for up to a week.
In a mixing bowl, add the sugar. Then slowly add 2 pieces of cold butter cubes at a time. Continue to add butter until the mixture is smooth – about 5 minutes. Add the egg and vanilla extract. Make sure you scrape the mixing bowl and combine all of the ingredients well.
In a separate bowl, whisk together the dry ingredients. Slowly add the dry ingredients into the mixing bowl until the dough comes together and is smooth. Do not overmix the dough!
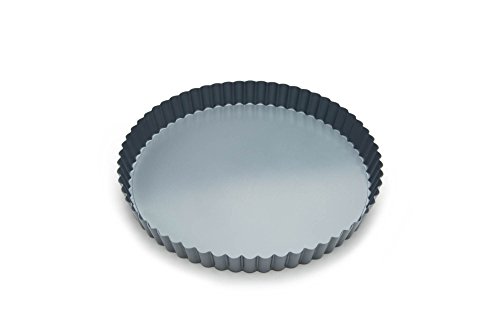
Wrap the dough in plastic or put it in a container and let it chill in the refrigerator for one hour. Lightly grease a 9-inch tart pan (preferably with a removable bottom). Remove the dough from the refrigerator and let it sit for 1-2 minutes to soften slightly. If the dough is too soft, it will be difficult to work with. You want the dough cold.
On a floured surface (I recommend a Silpat pastry mat), roll the tart dough into an 11-inch circle, and 1/8 – 1/4 inch thickness. Quickly take the dough and place it inside a 9-inch tart pan. To do this efficiently, flour the dough and rolling pin. Roll the dough loosely around it, then unroll it into the tart pan. If the dough is too warm and soft, place it in the refrigerator to get cold again.
Using your fingers, gently form the dough into the pan. With a sharp knife, trim the edges of dough that are above the tart pan. Place the tart shell in the refrigerator for about 30 minutes or until it is chilled. While the dough is chilling, preheat the oven to 375°F.
Blind Bake the Tart Shell
Remove the chilled tart shell. Dock the bottom of the tart with a fork. Line the tart with parchment paper larger than the pan. Additionally, cover the edges of the pan with aluminum foil to prevent from burning. Fill the tart pan with weights such as baking beans, dried beans, or uncooked rice. Make sure they are fully distributed over the entire surface for even baking.
Bake the tart at 375°F for 12 minutes. Remove the parchment paper with the weight (leave the foil on the edges). Bake for an additional 10 minutes or until the tart shell is lightly golden brown and fully baked. Once the shell is baked, remove from the oven and let it cool completely.

For the Lemon Curd
In a large bowl, whisk together the eggs and egg yolks.
In a large saucepan, bring the sugar and lemon juice to a boil. Remove the saucepan from the heat and temper the eggs by slowly adding the hot liquid into the bowl while whisking. Keep pouring the liquid into the eggs while mixing everything together to prevent the eggs from curdling. Once everything is mixed together in the bowl, pour the ingredients back into the large saucepan.
Turn the heat on medium and constantly whisk the lemon curd until it thickens. You should cook the lemon curd for at least 3 – 5 minutes or until it coats the back of a wooden spoon.
On medium-low heat, whisk in the cubed cold butter into the lemon curd a few pieces at a time. Continue to whisk the mixture until all of the butter is melted into lemon curd. Please note, the lemon curd will thicken more when it is cooled and completely set.
Remove the saucepan from the heat. Pour the lemon curd through a sieve to remove any sediment. This will also create a silky smooth lemon curd filling for your tart. Cool the lemon curd to room temperature.
Once the lemon curd has cooled, pour it into the baked tart shell. Lightly tap the tart shell to create an even surface. Let the tart set completely in the refrigerator for at least 4 hours.
Decorate the tart as desired, slice, serve, and enjoy!
How to Decorate a Lemon Tart
You can keep the French Lemon Tart (Tarte au Citron) simple or decorate it with fresh berries, chocolate, or even meringue. Regardless of what you choose, you cannot go wrong.
Simple
Some things in life are better simple and the French Lemon Tart (Tarte au Citron) is definitely one of them. If you want to keep the tart simple, but add just a little character, here are two things you can do – fan lemon slices on top and dust powdered sugar along the crust.
Classic Chocolate Citron


During my time in France, this is the classic I always saw French Lemon Tarts (Tarte au Citron) presented. A simple cursive writing of “Citron” in dark chocolate.
To do this method, melt dark chocolate in a double boiler. Then pour the melted chocolate into a piping bag or parchment cone. Write “Citron” in the middle of the tart and viola!
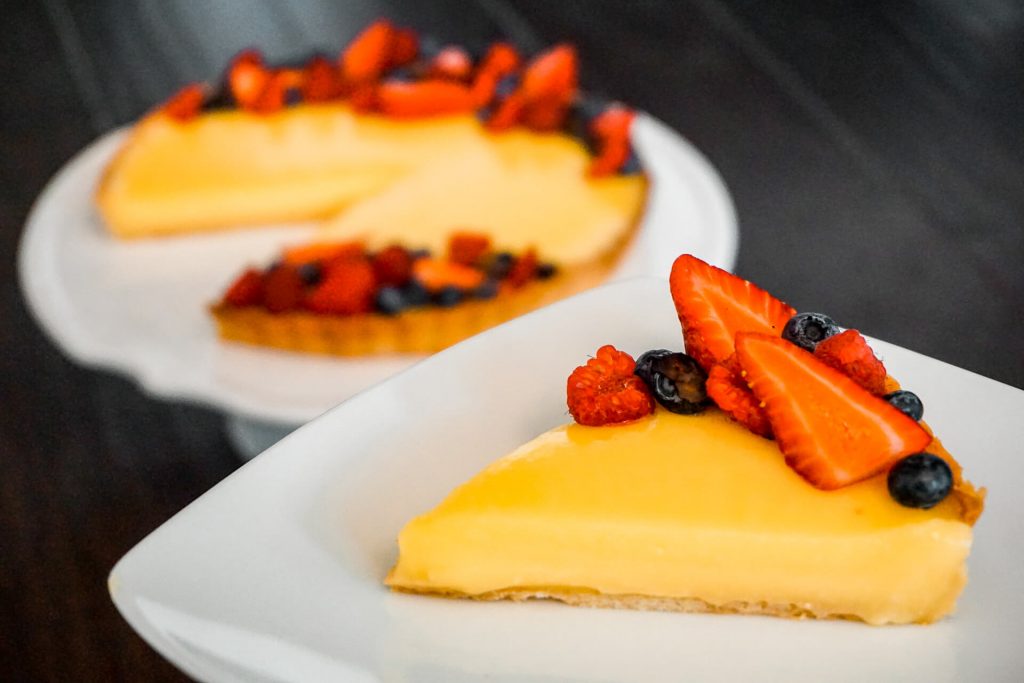
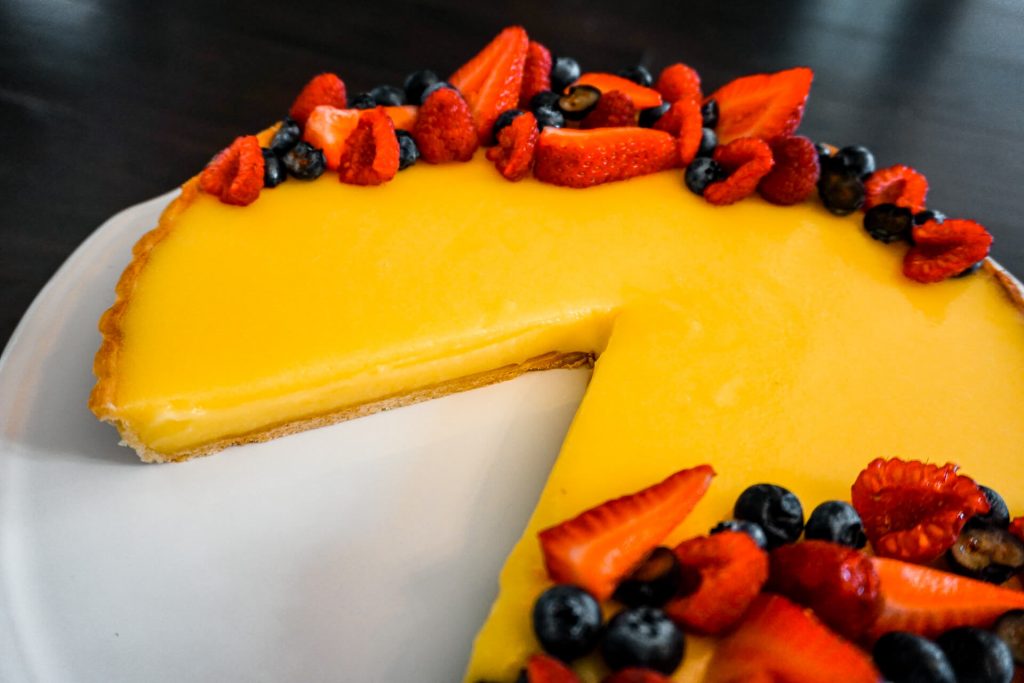
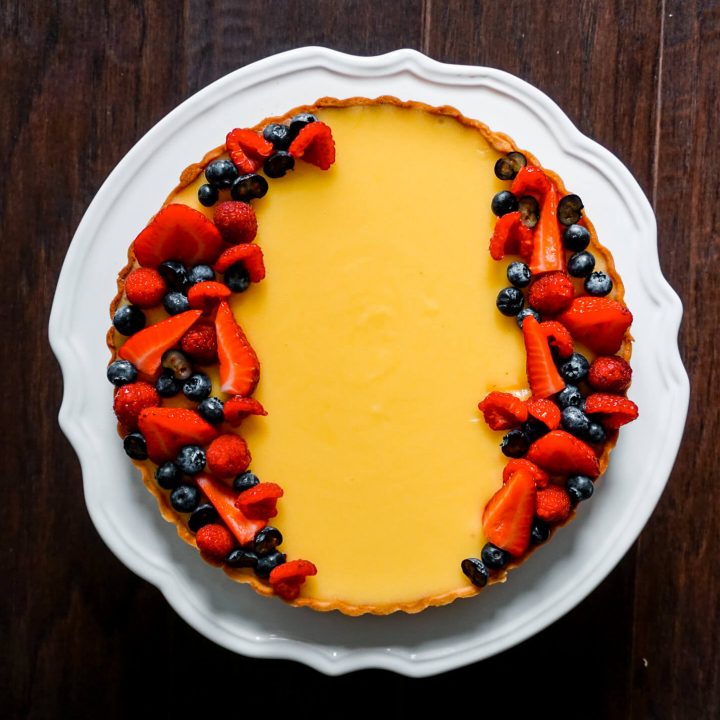
Fresh Berries

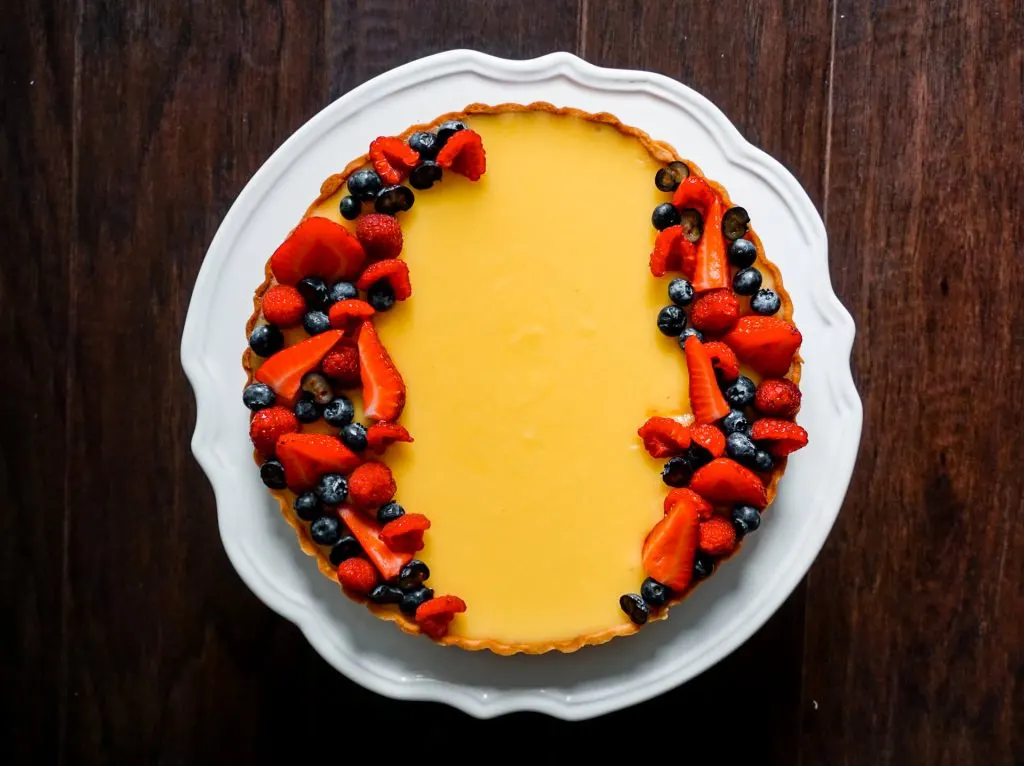
One of my favorite ways to enjoy this classic French dessert is to garnish it with fresh berries. The berries add a lovely pop of color and additional flavor.
I like to garnish with fresh blueberries, raspberries, and strawberries but please feel free to pick and choose your favorite berries. Additionally, cut the berries in different sizes for an extra element of beauty and height.
Meringue
Lastly, you can create a fluffy meringue and add it to the top of the lemon tart to create a lemon meringue. Lightly torch the meringue to give it a crisp color and texture, and enjoy!
More French Dessert Recipes

Classic French Lemon Tart (Tarte au Citron)
An easy and refreshing lemon dessert recipe. The sweet crust cuts the tartness of the lemon curd beautifully.
Ingredients
For the Crust
- 6 tablespoons unsalted butter (cold, cut into small cubes)
- 1/2 cup sugar
- 1 egg
- 1 teaspoon vanilla extract
- 2 cups all-purpose flour
- 1/2 teaspoon salt
For the Lemon Curd
- 1 1/4 cup sugar
- 2/3 cup lemon juice (about 6 lemons)
- 4 eggs
- 4 egg yolks
- 6 tablespoons unsalted butter (1 1/2 sticks), cold and cubed
Instructions
For the Tart Dough
- In a mixing bowl, add the sugar. Then slowly add 2 pieces of cold butter cubes at a time. Continue to add butter until the mixture is smooth - about 5 minutes. Add the egg and vanilla extract. Make sure you scrape the mixing bowl to combine all of the ingredients well.
- In a separate bowl, whisk together the dry ingredients. Slowly add the dry ingredients into the mixing bowl until the dough comes together and is smooth. Do not overmix the dough!
- Wrap the dough in plastic or put it in a container and let it chill in the refrigerator for one hour.
- Lightly grease a 9-inch tart pan (preferably with a removable bottom). Remove the dough from the refrigerator and let it sit for 1-2 minutes to soften slightly. If the dough is too soft, it will be difficult to work with. You want the dough cold.
- On a floured surface (I recommend a Silpat, see notes below), roll the tart dough into an 11-inch circle and 1/8 – 1/4 inch thickness. Quickly take the dough and place it inside a 9-inch tart pan. To do this efficiently, flour the dough and rolling pin. Roll the dough loosely around it, then unroll it into the tart pan. If the dough is too warm and soft, place it in the refrigerator for 5 minutes to get cold again. (See notes for great tips below).
- Using your fingers, gently form the dough into the pan. With a sharp knife, trim the edges of dough that are above the tart pan. Place the tart shell in the refrigerator for about 30 minutes or until it is chilled. While the dough is chilling, preheat the oven to 375°F.
- Remove the chilled tart shell. Dock the bottom of the tart with a fork. Line the tart with parchment paper larger than the pan. Additionally, cover the edges of the pan with aluminum foil to prevent from burning. Fill the tart pan with weights such as baking beans, dried beans, or uncooked rice. Make sure they are fully distributed over the entire surface for even baking.
- Bake the tart at 375°F for 12 minutes. Remove the parchment paper with the weight (leave the foil on the edges) and bake for an additional 10 minutes or until the tart shell is fully baked. Once the shell is baked, remove from the oven and let it cool completely.
For the Lemon Curd
- In a large bowl, whisk together the eggs and egg yolks.
- In a large saucepan, bring the sugar and lemon juice to a boil. Remove the saucepan from the heat and temper the eggs by slowly adding the hot liquid into the bowl while whisking. Keep pouring the liquid into the eggs while mixing everything together to prevent the eggs from curdling. Once everything is mixed together in the bowl, pour the ingredients back into the large saucepan.
- Turn the heat on medium and constantly whisk the lemon curd until it thickens. You should cook the lemon curd for at least 3 - 5 minutes or until it coats the back of a wooden spoon.
- While whisking, add a few pieces of the cubed butter at a time into the lemon curd. Once all of the butter is fully melted and incorporated, remove the saucepan from the heat.
- Strain the lemon curd through a sieve. Slightly cool the lemon curd and then pour it into the baked sweet tart dough. Lightly tap the tart shell to remove any bubbles and create a smooth surface. Let the classic French lemon tart set in the refrigerator for at least 4 hours.
- You can serve the lemon tart plain, decorate with fresh berries, write "citron" in chocolate, or even top with meringue. Enjoy!
Notes
Working with Tart Dough
When working with tart dough, do not over mix it. If you over-mix or overwork the dough, the crust will get too hard after you bake it.
With this said, it is recommended to only roll out the tart dough two-three times. After that, you risk overworking the tart dough.
If the tart dough cracks along the edges, do not worry! You can patch the cracks or holes up with remaining pieces of dough. I typically use the pieces from cutting along the edges.
Rolling Out the Tart Dough
Personally, I find working with tart dough to be the easiest on a Silpat. Why? Because when the dough gets too soft, you can easily just pick up the Silpat and place it in the refrigerator. Once the dough is chilled again, just pull the Silpat out and try again
Recommended Products
As an Amazon Associate and member of other affiliate programs, when you click on the link you will have the option to purchase a product at no extra cost to you, but I would receive a small commission. I want to thank everyone for following and supporting us on all of “Our Sweet Adventures” and for cooking with my recipes on "Christina's Culinary Creations".